Blog
Blog Support
Useful Tip: DNS Replication using BIND9
Assuming you have a dedicated server from Webqom and is running BIND9 DNS setup, you can use the following tips to perform DNS replication between master and slave nameservers.
Log into your WHM account
Create an account in WHM

Adding new zones
Adding new zone to DNS configuration on NS1 and NS2 consists of 4 steps. For example, consider scenario, that you have added domain yourdomain.com into your configuration using cpanel. Example of domain using here is www.comte.com
Create zone files on NS1 by using cpanel and ssh
When you create new domain in cpanel, new single zone file will be created. This file has to be post-processed into 3 files described above.
Connect to NS1 over ssh and in the root shell run following commands:
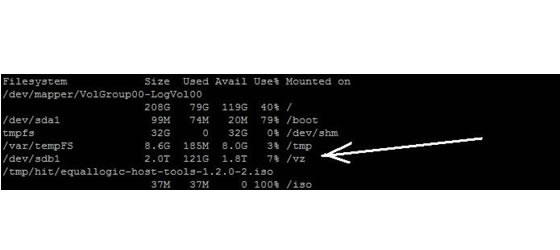
cd /var/named/

ls yourdomain.com*

Only a single file yourdomain.com.db should be listed. To split the file to 3 parts as described above, you have to first create 2 copies of this zone file:
cp yourdomain.com.db yourdomain.com-ext.db
cp yourdomain.com.db yourdomain.com-int.db
chown named:named *

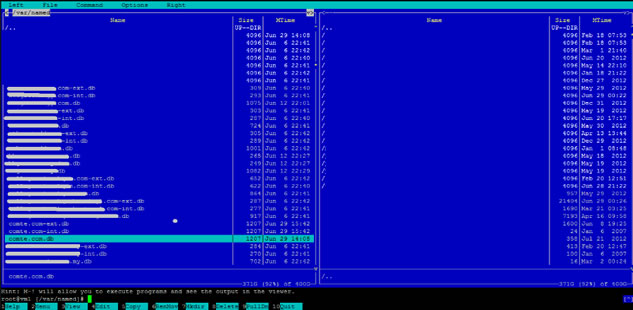
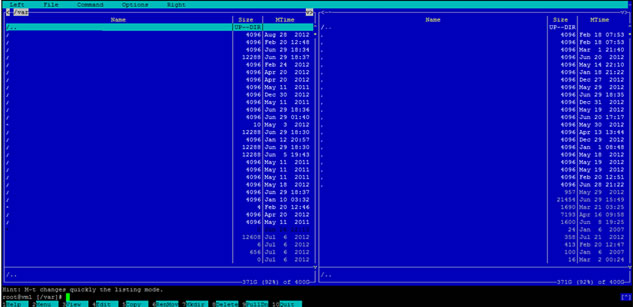
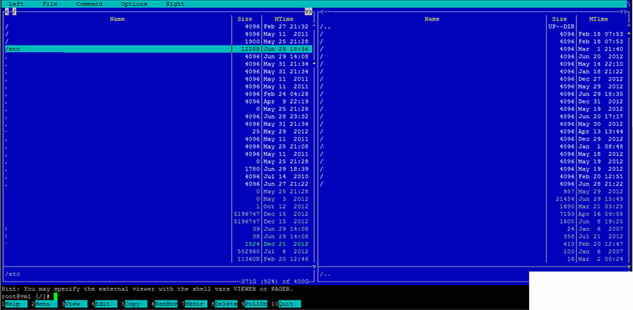
For easy editing, you can use Midnight commander software. Run:
mc
A commander-like interface should be shown. When first time running this program, check if internal editor is used by following Answer 3 this guide: http://askubuntu.com/questions/16776/how-to-switch-the-editor-in-mc-midnight-commander-from-nano-to-mcedit. This guide applies to CentOS as well.
In the commander locate file yourdomain.com.db. Press F4 to edit this file, the editor interface should be pretty self-explanatory. Remove "A" DNS records from the file, that contain IP address "192.168.1.X". Example of such line that needs to be remove is:
ftp 14400 IN A 192.168.1.14
After removing all such lines, increment serial number of zone by 1. Save the file.
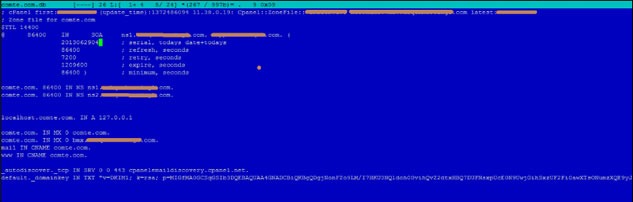
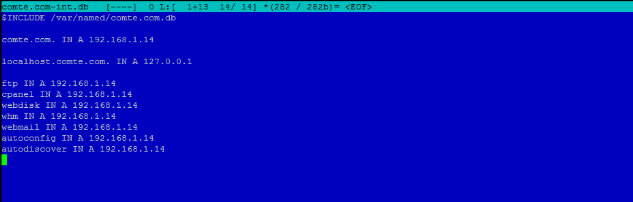
Now edit file yourdomain.com-int.db and do the exact oposite. Keep all lines that you removed from the file yourdomain.com.db and keep the rest. On first line add text:
$INCLUDE /var/named/yourdomain.com.db
So the whole file should look something like this:
$INCLUDE /var/named/yourdomain.com.db
grandteak.com. 14400 IN A 192.168.1.14
ftp 14400 IN A 192.168.1.14
cpanel 14400 IN A 192.168.1.14
whm 14400 IN A 192.168.1.14
webmail 14400 IN A 192.168.1.14
webdisk 14400 IN A 192.168.1.14
autoconfig IN A 192.168.1.14
autodiscover IN A 192.168.1.14
Save the file.
Now move to final file. Edit file yourdomain.com-ext.db. Follow exactly the same steps that you did with yourdomain.com-int.db. However before saving the file, rewrite all private addresses to their public equivalent (192.168.1.14 -> 111.222.333.444). The final file should look something like this:
$INCLUDE /var/named/yourdomain.com.db
grandteak.com. 14400 IN A 111.222.333.444
ftp 14400 IN A 111.222.333.444
cpanel 14400 IN A 111.222.333.444
whm 14400 IN A 111.222.333.444
webmail 14400 IN A 111.222.333.444
webdisk 14400 IN A 111.222.333.444
autoconfig IN A 111.222.333.444
autodiscover IN A 111.222.333.444
Save the file.

Adding zone into NS1 configuration
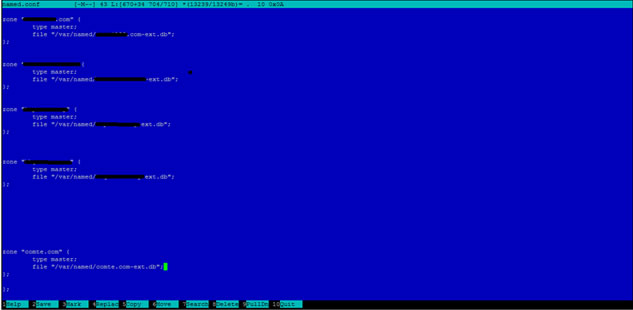
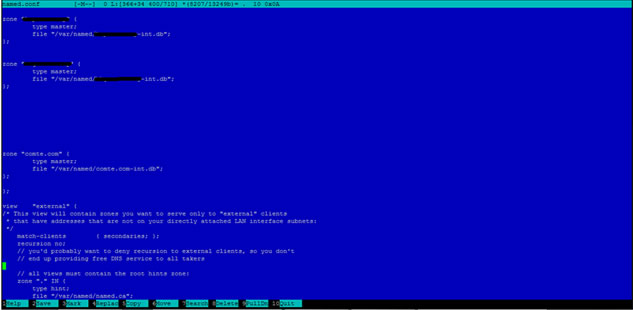
Cpanel should automatically create configuration of these zones upon their creation. The configuration file for BIND9 in file /etc/named.conf . However, in both views that are in configuration, the zone file points to yourdomain.com.db. You have to change this.
In commander interface navigate to /etc/ and edit file named.conf . Locate zone definition in "internal" view and change it to this (add "-int" part into zone filename):

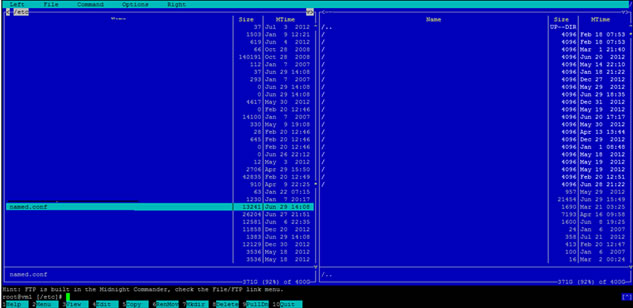
In commander interface navigate to /etc/ and edit file named.conf . Locate zone definition in "internal" view and change it to this (add "-int" part into zone filename):
zone "yourdomain.com" {
type master;
file "/var/named/yourdomain.com-int.db";
};
Locate zone definition in "external" view and change it to this (add "-ext" part into zone filename):
zone "yourdomain.com" {
type master;
file "/var/named/yourdomain.com-ext.db";
};
Reloading DNS configuration
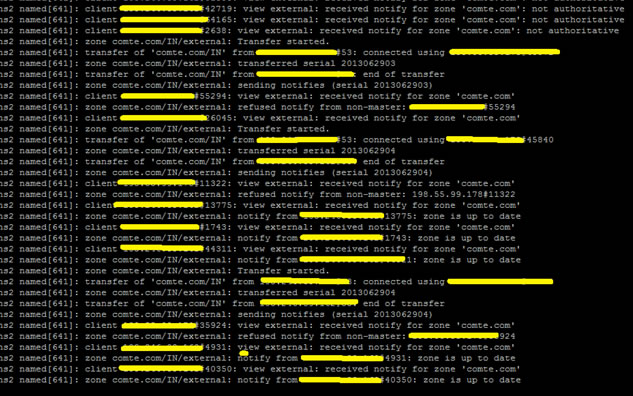
After previous steps, run this command both in NS1:
/etc/init.d/named reload

You can run this command tail -f /var/log/messages to see if the auto sync took place.
Run this command grep yourdomain.com /var/log/messages to lists all occurances of yourdomain.com in log file.
End.